

How To Use VN Video Editor

VN Video Editor
How to Download VN Video Editor
Step 1: Open Google Play Store
• Unlock your Android phone.
• Tap on the Google Play Store icon to open it.
Step 2: Search for VN Video Editor
• In the search bar at the top, type “VN Video Editor”.
• Tap the Search button (magnifying glass icon).
Step 3: Find the Correct App
• Look for the app titled “VN Video Editor Maker VlogNow”.
• Make sure it’s developed by Ubiquiti Labs, LLC or VN, LLC.
Step 4: Tap on the App
• Tap on the app from the search results to open its details page.
Step 5: Click on Install
• Tap the green Install button.
• The app will begin downloading and installing on your phone.
Step 6: Open the App
• Once installed, the Install button will change to Open.
• Tap Open to start using VN Video Editor.

1. Download and Setup
- First, if you haven’t already, download VN Video Editor from the App Store or Google Play.
- Open the app, and you’ll be taken to the main screen where you can start a new project.
2. Start a New Project
- When you open VN, click on the “+” button to start a new project.
- Select the aspect ratio you want to use (16:9 for YouTube, 9:16 for TikTok, etc.).
- From here, you can start adding videos, photos, or music.
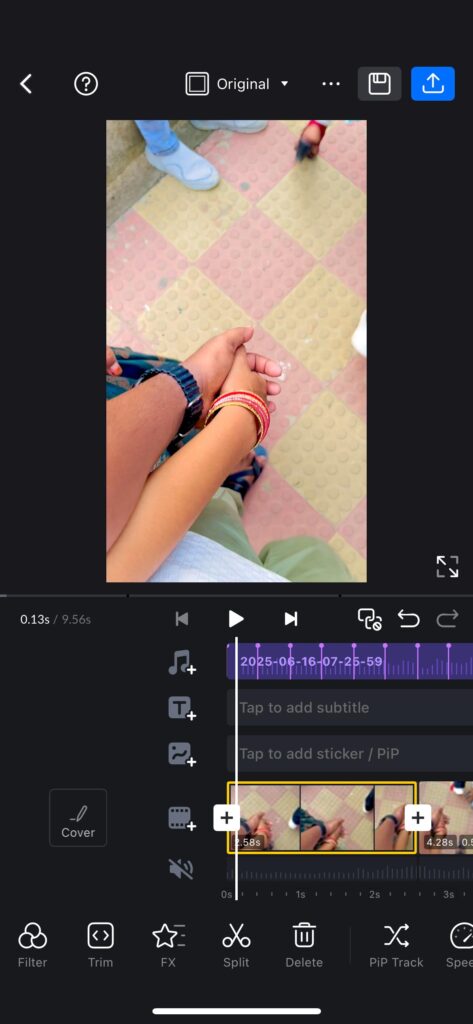
3. Import Media
- Tap on Media at the bottom of the screen to import videos, images, or music from your phone’s gallery.
- Select the files you want to use, and they’ll appear in the timeline.

4. Editing the Video Clips
- Trim and Split Clips: Tap on a clip in the timeline, and you’ll see options like Trim or Split. Drag the edges of the clip to trim or use the Split tool to cut the video into parts.
- Adjust Speed: Tap on the clip and look for the Speed option. You can change the playback speed (slow motion or fast forward).
- Rotate/Flip: You can rotate or flip the video by tapping the clip and choosing the Rotate option.
5. Add Transitions
- Tap the small square icon between two clips on the timeline. This opens the transition options.
- VN offers various transitions like fades, wipes, and zoom effects. Simply choose one and adjust the duration to fit the mood of your video.
6. Add Text and Effects
- Text: To add text, tap on the Text button at the bottom. You can choose from pre-designed text templates or create your own. Customize the font, size, color, and animation style.
- Effects: Tap the Effects button to add filters or visual effects like glitch, blur, and more. Some of these effects can be timed with specific parts of the video for added drama.
7. Add Music and Sound Effects
- Tap on the Music button to add audio from the built-in library or import your own music.
- You can also add sound effects or voiceovers. VN allows you to adjust the volume of each track to balance music, sound effects, and voice.
8. Adjusting Audio Levels
- You can adjust the volume for each audio track separately (video sound, background music, etc.) by tapping on the clip and adjusting the audio slider.
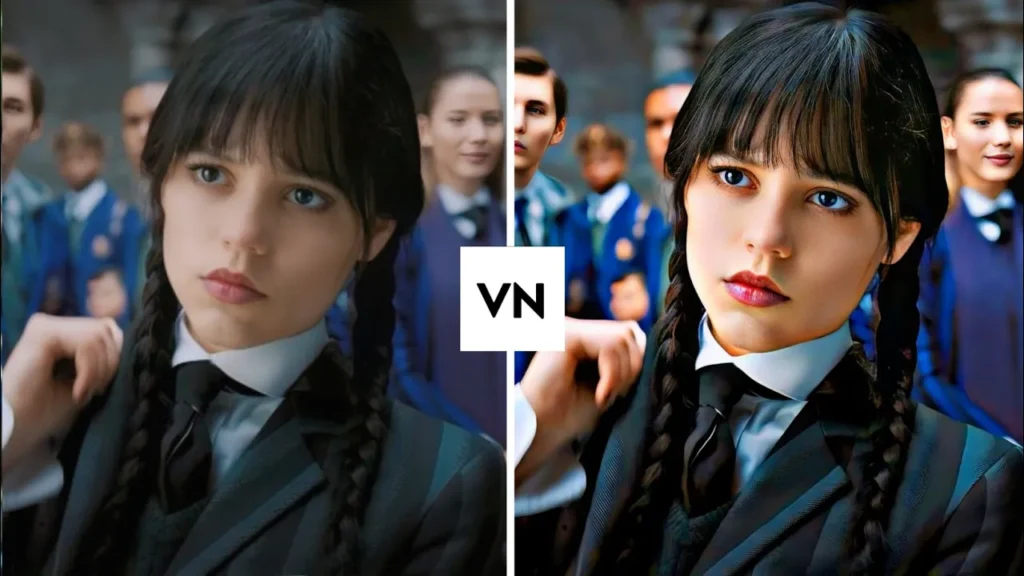
9. Color Correction
- If you want to change the brightness, contrast, or color balance of your clips, tap on the clip and choose Color. You can adjust the settings manually or use a preset filter.
10. Exporting the Video
- Once you’re satisfied with your edit, tap the Export button (usually on the top right).
- You can choose the resolution (1080p, 4K) and frame rate.
- After choosing, it will start rendering your video. Once done, you can save it or share directly to social media!
Advanced Tips:
- Layering Clips: You can layer multiple clips by importing them into separate tracks (up to 5 layers in VN).
- Keyframe Animation: If you want to animate certain effects (like moving a photo across the screen), VN supports keyframe animation, which allows you to change properties over time.